If you love Halloween and decorating as much as I do,
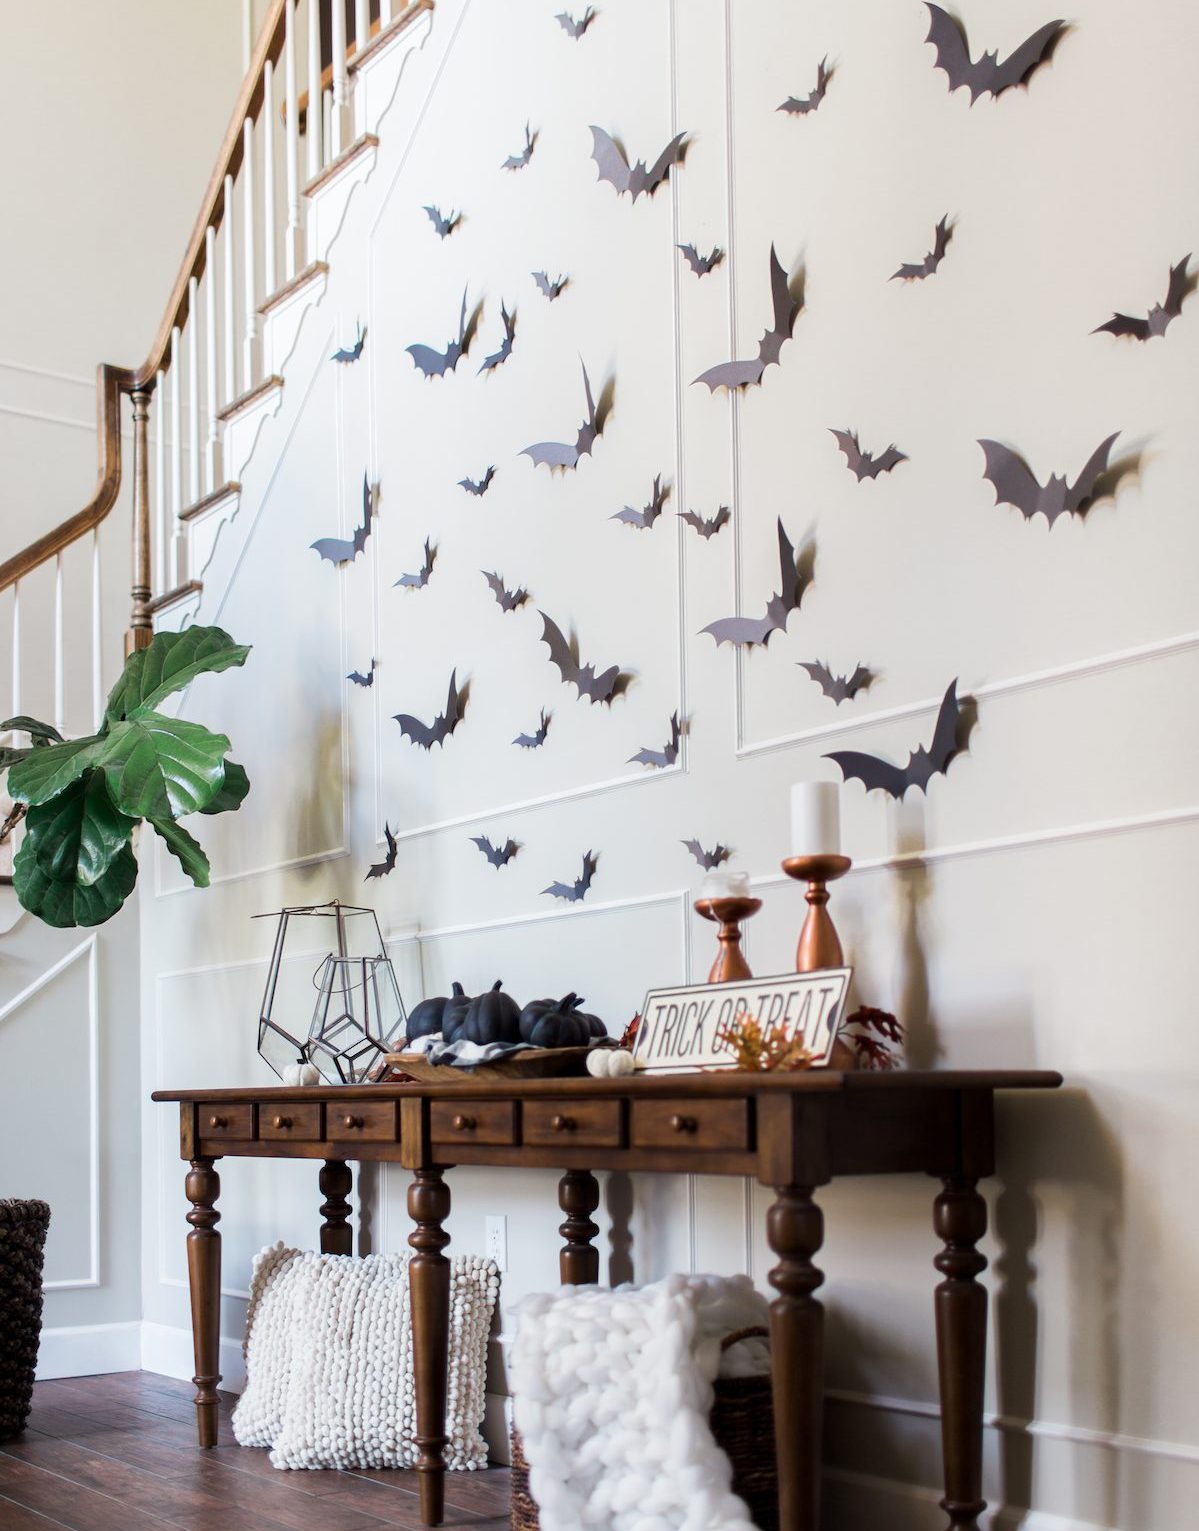
you’ll want to give this super easy and inexpensive DIY a try! This paper craft project is super versatile as it can be designed to fit any space, no matter the shape or size. This works great over my entry foyer table and acts as a fun and spooky first impression to my home during the fall season.
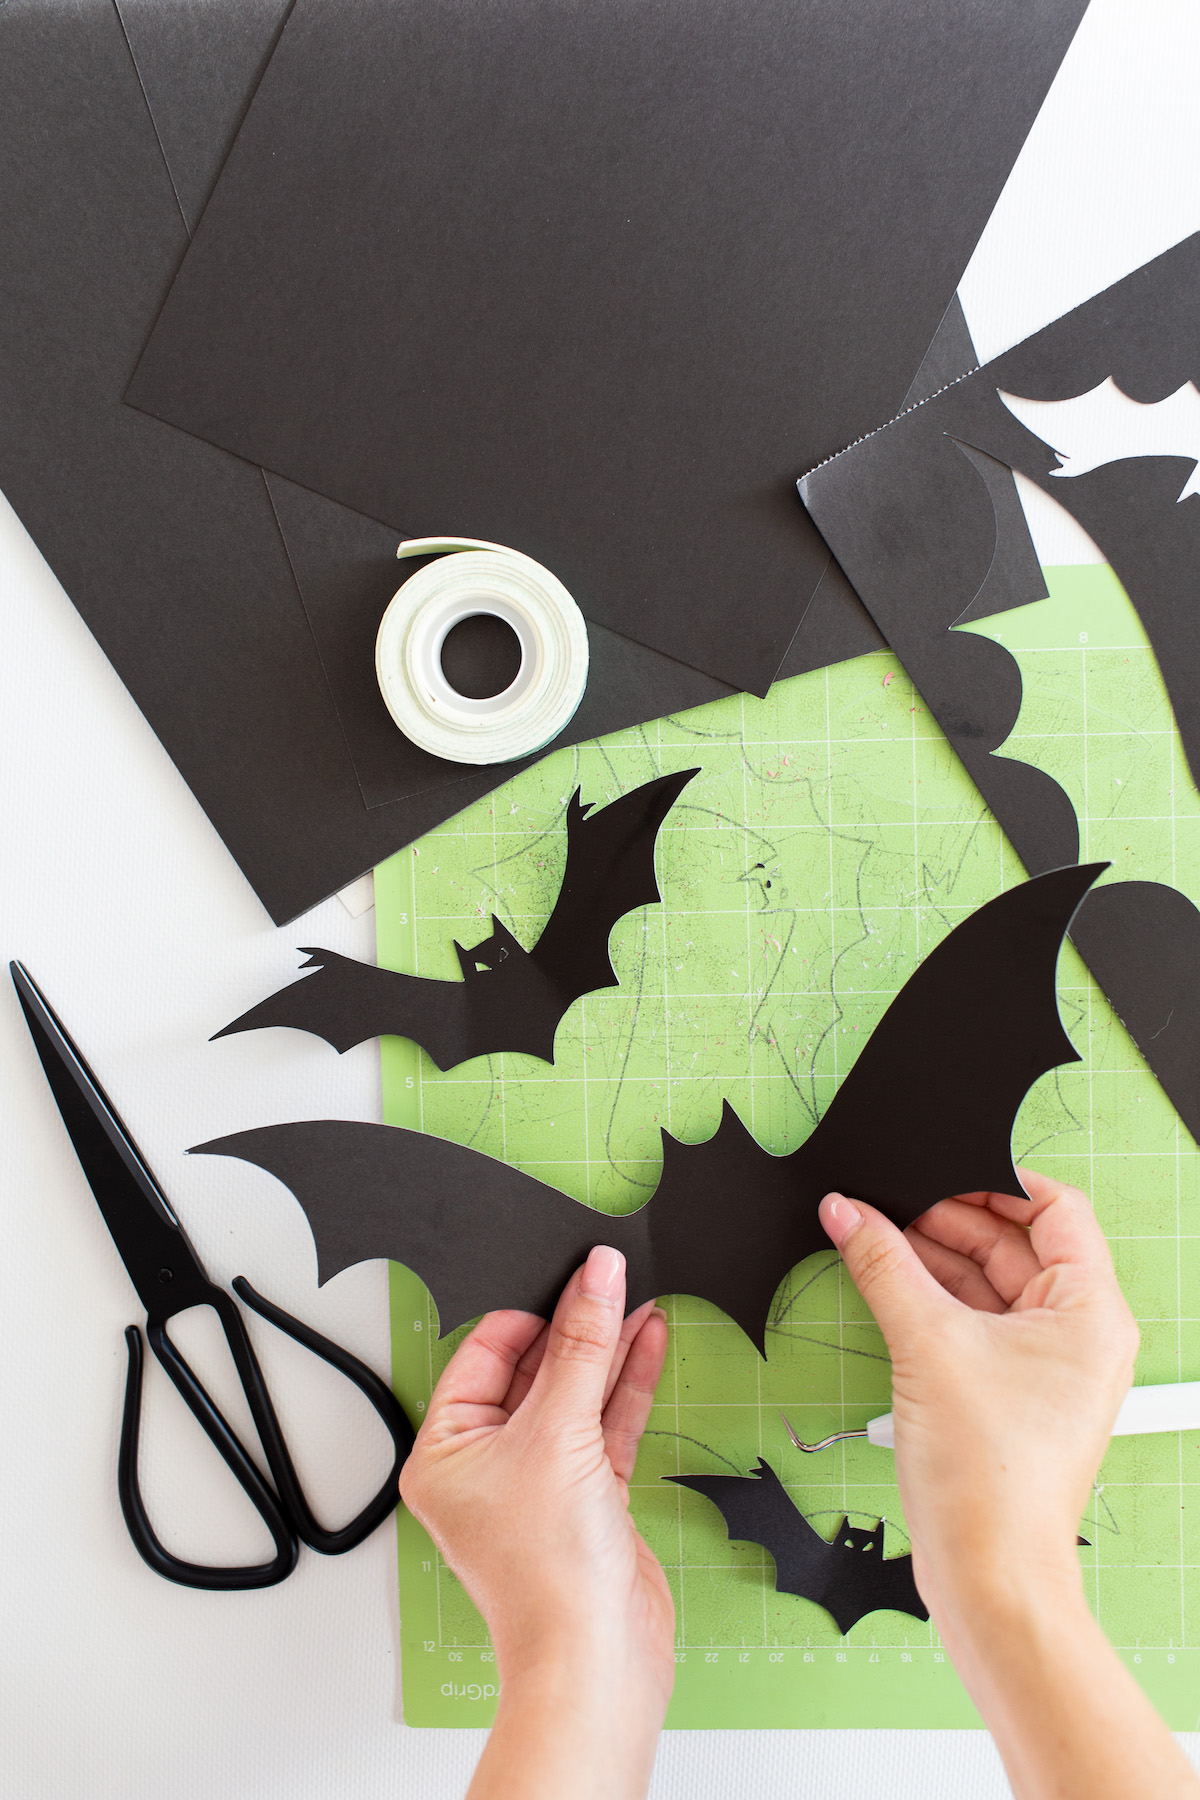
I used my die cutting machine to make this a quick and easy process, but you can also use scissors if you don’t have access to a machine. Be sure to check out the link at the bottom of this article for the free bat printable!


PROJECT SUPPLIES LIST:
-Black Card Stock
-Scissors or a Die Cutting Machine
-Double Sided Mounting Tape
Start by measuring your space and calculating how many bats you want to make. I planned out my placement by taking a picture of the wall and drawing out the pattern to visualize the result. I used three different sized bats for my project and filled in the space evenly. Get creative and try drawing out different patterns to see what would look best for your particular space! Cut out your desired number of bats using the bat template or make your own bat templates. Once you have all your bats cut, gently bend the wings toward you without totally creasing them to give the bats a 3D flying effect. To apply to the wall, use double sided mounting tape. This is easy to take down at the end of the season and won’t damage your walls.
I ended up making about 40 bats and used a ladder to get to the high areas near the staircase. I then finished off this space with a bowl of black pumpkins, fall leaves and cozy knits! And that’s it! A simple and elegant way to dress up your space for the month of October.
You can find the free bat printable template on harmonylynn.com under the DIY Tutorials Tab!


